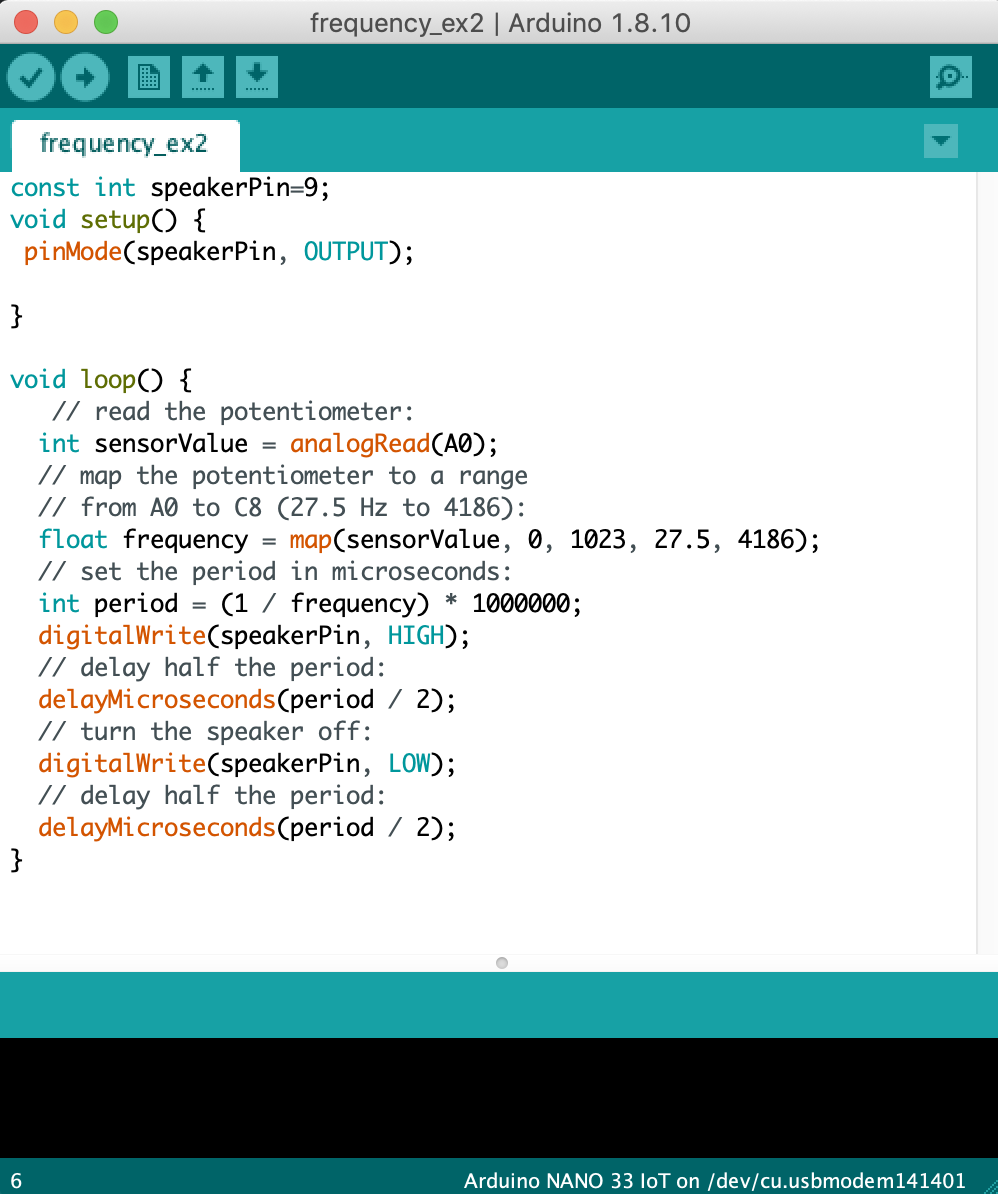
In this part of the lab, I’ve concentrated on generating simple tones on an Arduino. The Nano’s 3.3V pin is connected to the left side red column of the breadboard. The Nano’s GND pin is connected to the left side black column. I’ve connected a potentiometer in the left center section of the breadboard and tried to use potentiometer to arrange the frequency rate. One wire from potentiometer is connected to positive the other one to the ground . The third wire is connected Arduino’s analog input pin A0. The positive wire of the speaker is connected to digital pin 9 of the Arduino.
BESTE SAYLAR